How to build a Retaining Wall on a Slope
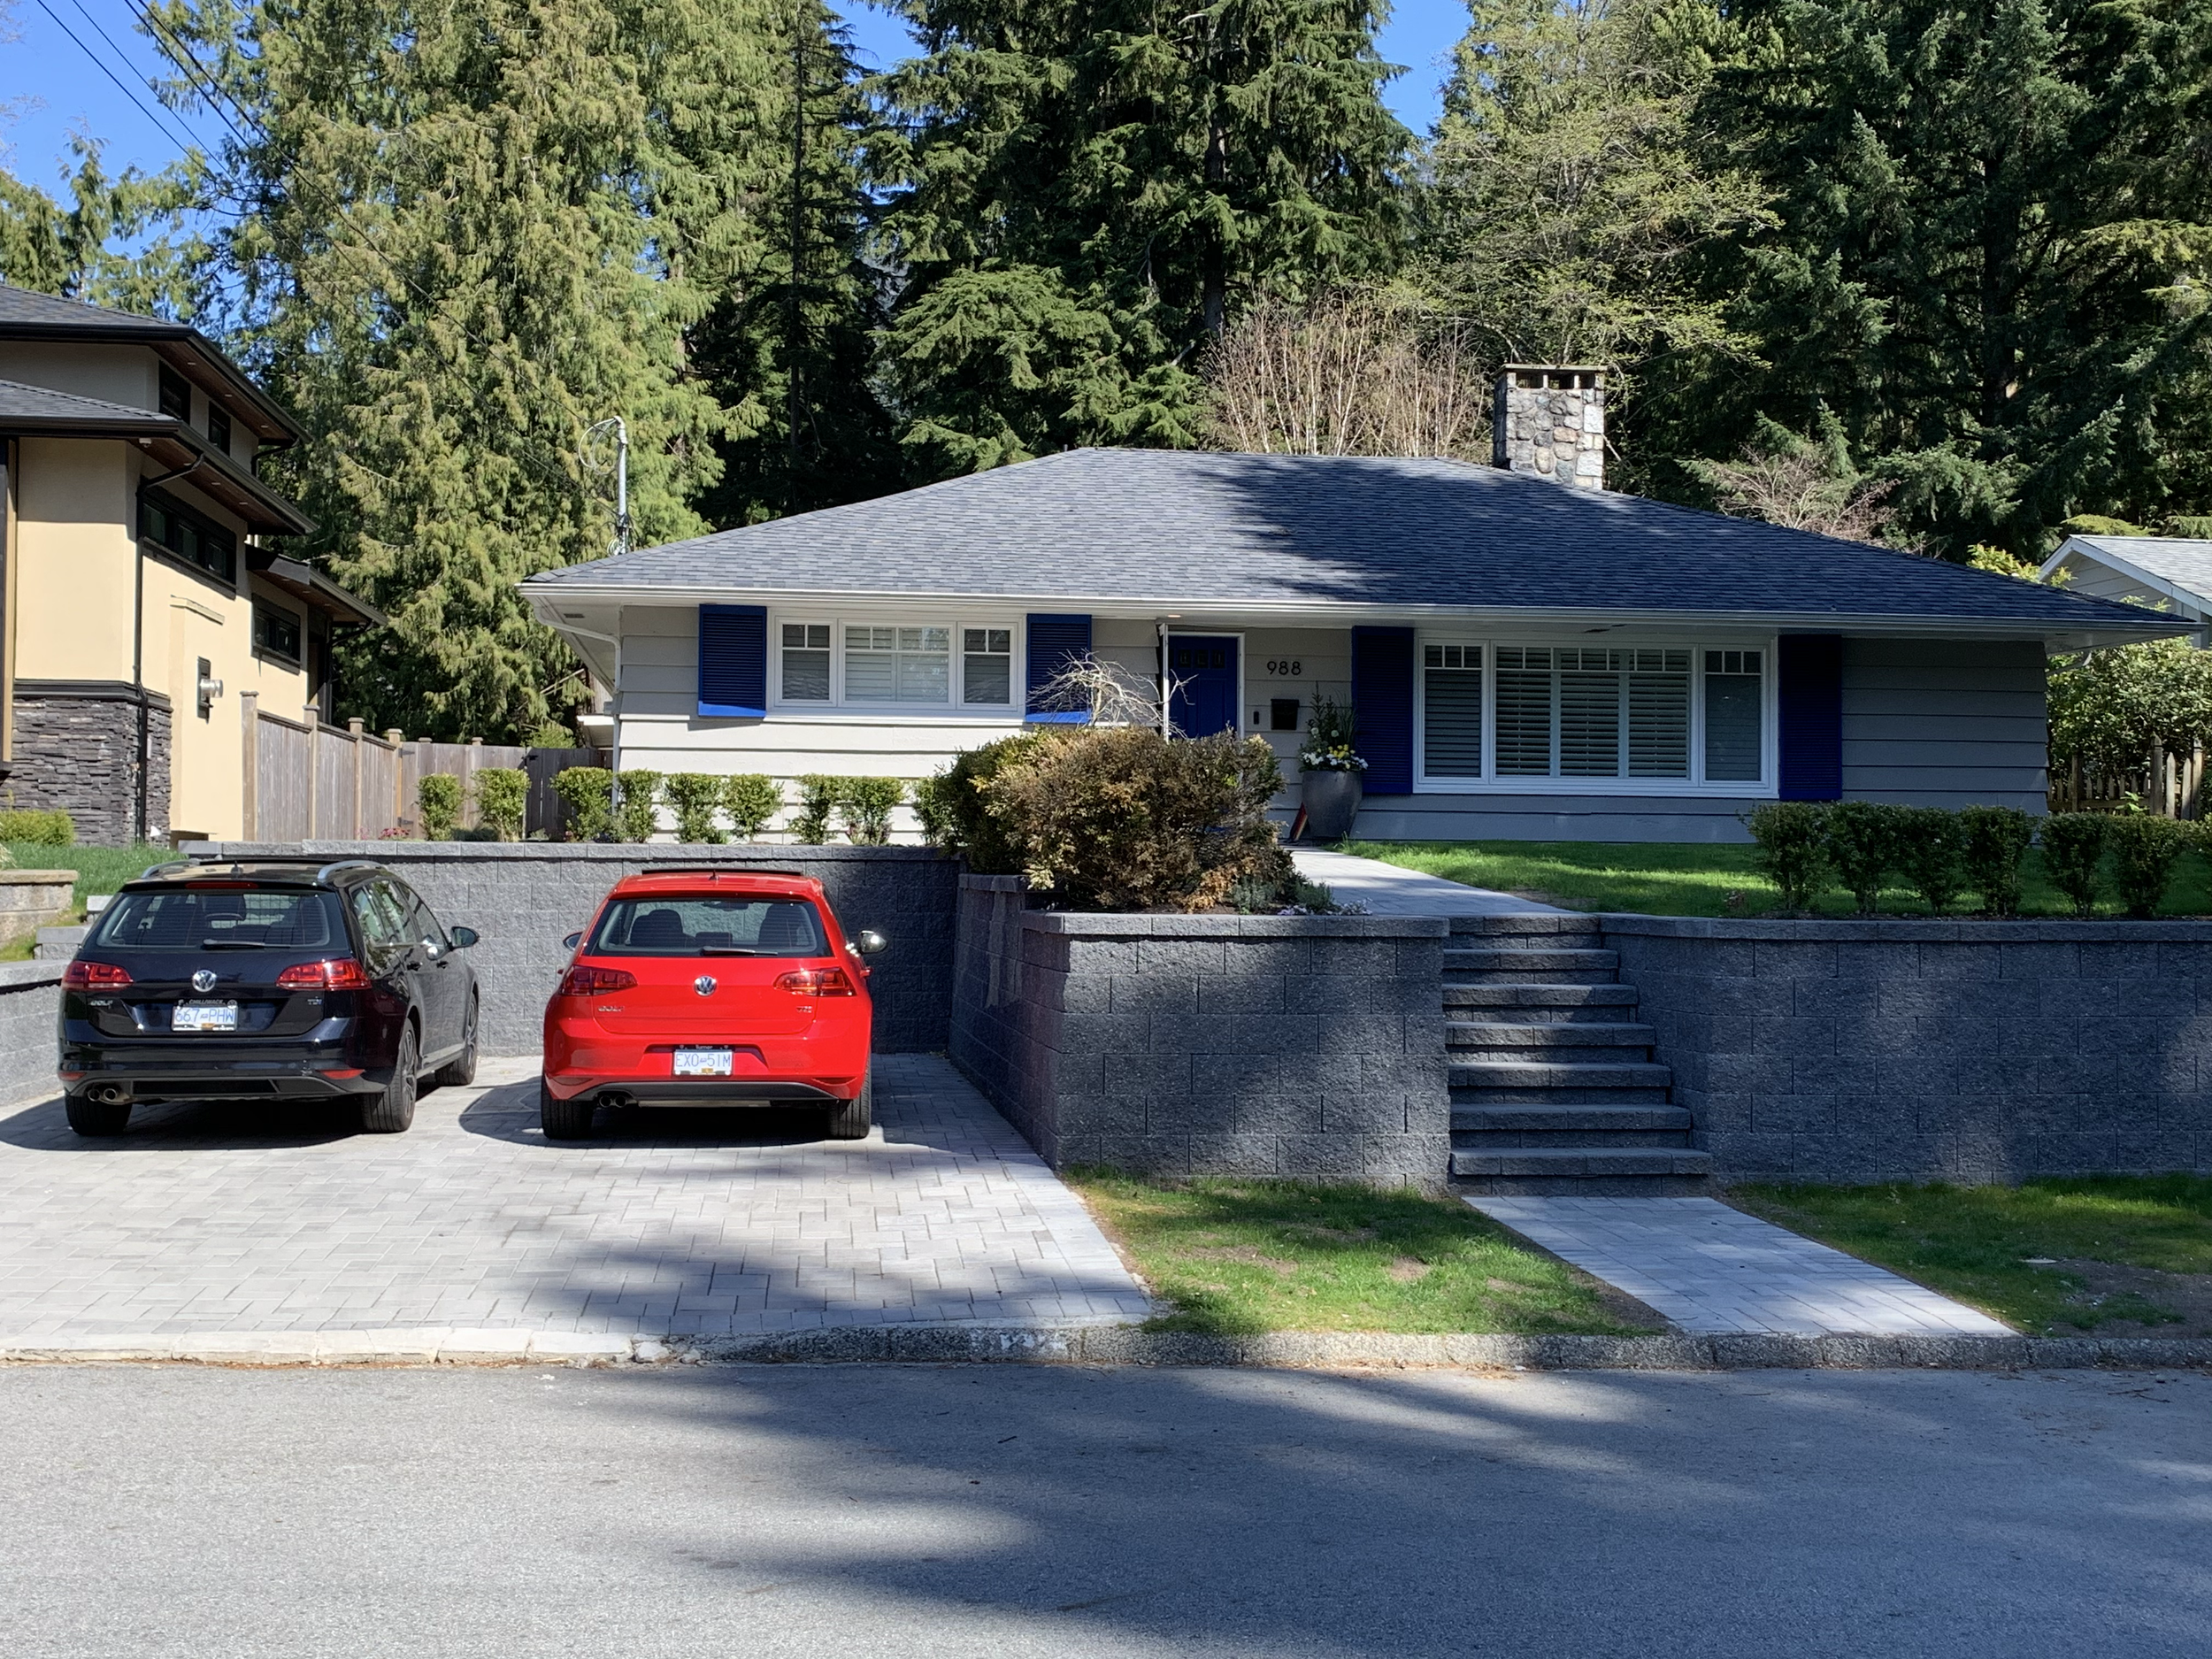
Retaining wall for a client in North Vancouver
Living on the North Shore of Vancouver, whether in North Vancouver or West Vancouver, often means dealing with sloping landscapes. This can pose a challenge for homeowners who want to make the most of their outdoor spaces. One effective solution is to build a retaining wall. A well-constructed retaining wall can transform a steep slope into a functional and attractive area, providing both aesthetic appeal and practical benefits. Here's a detailed step-by-step guide to creating a retaining wall on a slope.
Step 1: Design Your Retaining Wall
The first step in any hardscaping project is design. Take precise measurements of your slope’s length and height. This helps determine the type and amount of materials needed. A good design includes considerations for drainage, height, and the load the wall will bear.
Step 2: Gather Materials and Tools
For a typical retaining wall project, you'll need:
Retaining wall blocks (such as Murata™ wall blocks)
Gravel (three-quarter minus)
Geofilter fabric
Perforated drain pipe
Adhesive (such as Surebond 20)
String line and stakes
Spirit level
Tape measure
White marking paint
Laser transit
Shovel and wheelbarrow
Compaction tool (jumping jack tool)
Stacked wood retaining wall project
Step 3: Mark the Layout
Use a string line and stakes to mark the layout of your wall. Start by marking the lowest point on your slope. This will be your reference for excavation depth and wall height. Use white marking paint to outline the area behind the proposed wall for excavation.
Large retaining wall + driveway project
Step 4: Excavate the Base
Excavate a trench at the base of your slope. The trench should be deep enough to accommodate at least 6 inches of gravel below the base course of your wall and an additional 6 inches of embedded block. The width should be at least 12 inches to ensure stability. Use the laser transit to ensure the trench is level.
Step 5: Install the Base Material
Line the trench with geofilter fabric to prevent soil from mixing with the gravel. Pour in at least 6 inches of compacted gravel. Use a compaction tool to ensure the base is solid and level.
Step 6: Lay the Base Course
Set the first row of retaining wall blocks on the compacted gravel base. Use a string line to ensure the blocks are straight and a spirit level to ensure they are level in all directions. Tap the blocks gently with a hammer to adjust their position if necessary.
Step 7: Build Up the Wall
Continue stacking blocks, offsetting each row by half the width of the block below it. Fill the hollow cores of the blocks with gravel and backfill the area behind the wall with compacted gravel in 4-inch lifts. Install a perforated drain pipe at the base of the wall to facilitate drainage and prevent water buildup.
Stacked retaining wall project for a North Vancouver client
Step 8: Cap the Wall
Once your wall reaches the desired height, cap it with wall capstones. Clean the top surface of the blocks, apply a flexible adhesive like Surebond 20, and place the capstones on top. This adds a finished look and helps secure the wall.
Step 9: Final Touches
Cover the backfill gravel with geofilter fabric to prevent soil from washing into the gravel. Regrade the slope above the wall and add landscaping as desired.
Why Choose Mountainscape Contracting for your retaining wall?
Building a retaining wall on a slope is a complex task that requires skill and experience. Mountainscape Contracting specializes in constructing durable, aesthetically pleasing retaining walls in North Vancouver and West Vancouver. We have extensive experience with the unique challenges of sloping landscapes and a reputation for using the highest quality materials.
Choosing a contractor without the necessary expertise or who uses cheap materials can lead to future problems. A poorly built retaining wall might fail, causing safety hazards and costly repairs. At Mountainscape Contracting, we pride ourselves on our excellent reviews, extensive experience, and commitment to quality. By choosing us, you can ensure your retaining wall is built to last, providing stability and beauty to your property for years to come.
For a retaining wall that enhances your North Shore home and provides peace of mind, trust the experts at Mountainscape Contracting. Contact us today for a consultation and take the first step towards transforming your landscape.


